Attic Hatch Weatherstripping: Closing the Gap in the Ceiling
Two separate problems live at an attic hatch: air moving through the gap, and heat crossing a bare uninsulated panel. Here is why the opening leaks more than its size suggests, why weatherstrip needs compression rather than contact, and what to do about a pull-down stair.
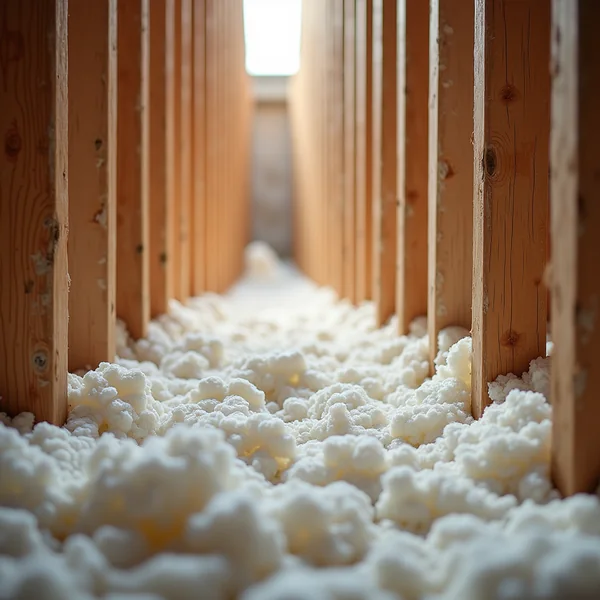
A house can have a foot of insulation across the attic floor and a bare rectangular hole in the middle of it, held shut by gravity.
A house can have a foot of insulation across the whole attic floor and a
rectangular hole in the middle of it, covered by a thin panel resting in a
frame. The hatch is usually the largest single air leak in the ceiling plane,
and it is one of the few weatherization jobs a homeowner can finish in an
afternoon with hand tools.
Attic Hatch Weatherstripping: Closing the Gap in the Ceiling
Two different problems live at that opening and they need two different
fixes. The first is air: warm indoor air rises, finds the gap
around the panel, and leaves. The second is heat: the panel
itself is usually a piece of plywood or drywall with nothing behind it, so even
a perfectly sealed hatch is a bare patch in an otherwise insulated ceiling. Do
one and not the other and you have done half the job.
Why the hatch leaks more than its size suggests
Air movement through a building is driven by pressure difference, and in
winter the top of a heated house is the highest-pressure part of it. Warm air
collects there and pushes outward through whatever opening exists, drawing cold
air in low down to replace it. A gap around a hatch sits exactly at the point
where that pressure is greatest, so it moves far more air than the same gap
would near the floor.
That is also why sealing it is a better first move than most people expect,
and why sequence matters across a whole weatherization project — the argument in
why air sealing comes before the heat pump.
The air seal: compression, not friction
Weatherstripping works when the panel presses against it. A strip that the
panel merely slides past does nothing, which is why the detail differs by hatch
type.
| Hatch type | Where the seal goes | What makes it work |
|---|---|---|
| Panel resting in a frame | On the frame ledge, under the panel | The panel’s own weight, plus latches if it is light |
| Hinged door | On the stop the door closes against | A catch or latch that pulls it tight |
| Pull-down folding stair | Around the perimeter of the opening, on a built box or a purpose-made cover | The cover’s weight or clips; the stair itself never seals |
| Scuttle in a closet ceiling | Same as a panel hatch | Weight, and remembering the closet is inside the envelope |
A light panel often will not compress a seal by itself, and the fix is
latches rather than a softer strip — two or four hook or draw catches pulling
the panel down onto the weatherstrip. Foam tape compresses easily and gives up
after a couple of winters; denser closed-cell or bulb-type strip lasts longer
and needs the latches to work properly. Either way the surface has to be clean
and dry when the adhesive goes on, and a cold attic in January is the worst time
to try.
The insulation half
Once the hatch is sealed it is still a thin panel between a heated house and
an attic that is essentially outdoors. The usual fix is rigid foam board cut to
the panel and fixed to its attic side, built up in layers to approach the
insulating value of the surrounding ceiling, with the edges sealed so air cannot
travel around it. Keep it inside the line of the weatherstrip so it does not
foul the seal.
Pull-down stairs are the harder case, because there is nothing to attach
insulation to. The standard answer is a box or tent that sits over the whole
opening on the attic side, insulated and sealed at its base, lifted off when
someone needs to go up. It has to be genuinely re-seatable or it will be left
off after the first trip.
Two things to check before you seal it
- What is in the attic. Old wiring, chimneys and recessed
fixtures all have clearance requirements, and insulation near them is not a
matter of packing it in — the same care that
insulating around knob-and-tube wiring
requires. - Whether the attic should stay vented. Sealing the ceiling
plane assumes the attic is outside the envelope and stays ventilated. If someone
is proposing to insulate at the roof deck instead, this is a different project
with different consequences —
what an unvented roof changes.
What it does and does not fix
Sealing and insulating a hatch reduces air leakage and removes a cold spot,
and in an older house it often stops the draught someone has been blaming on a
window. What it will not do is fix a house that leaks everywhere else. It is one
opening among many, and its value comes from being the largest cheap one — which
is why it belongs early in a plan rather than as the whole plan.
It also sits on the sensible side of the effort line: no permit, no
specialist tools, a couple of hours. Where the line falls for larger jobs is the
subject of
weatherization DIY compared with a contractor,
and if you are weighing this against bigger spending,
windows or insulation
puts it in proportion. Related small measures in the same plane, such as
sealing gable vents,
are worth understanding before you start, because some of them help and some
of them work against the ventilation you want to keep.
Doing it in the right order
- Clear and clean the frame ledge or the door stop.
- Fit the weatherstrip where the panel will actually compress it.
- Add latches if the panel is too light to compress the strip on its
own. - Cut and fix rigid insulation to the attic side, inside the seal line.
- Seal the edges of the insulation so air cannot bypass it.
- Close it, and check by feel on a cold windy day.
The last step is the one people skip. A hatch that looks sealed and is not
feels obviously wrong to a hand held near its edge when it is cold outside and
the wind is up, which is the only test that matters.
Frequently Asked Questions
Why does an attic hatch leak so much air?
Because it sits at the highest-pressure point in a heated house. Warm air collects at the top of the building and pushes outward through whatever opening exists, so a gap at ceiling level moves far more air than the same gap would lower down. That is why the hatch is usually the largest single leak in the ceiling plane.
Is weatherstripping enough on its own?
No, it is half the job. Sealing stops air moving through the gap, but the panel itself is usually plywood or drywall with nothing behind it, leaving a bare patch in an otherwise insulated ceiling. Rigid insulation fixed to the attic side of the panel is what addresses the second half.
Why does my weatherstripping not seem to be sealing?
Almost always because nothing is compressing it. Weatherstrip works by being squashed, not by being touched, and a light panel resting in a frame often cannot squash it under its own weight. Two or four hook or draw catches pulling the panel down onto the strip usually fixes it, and works better than switching to a softer strip.
What about a pull-down folding stair?
The stair itself will never seal, so the answer is an insulated box or tent that sits over the whole opening on the attic side, sealed at its base and lifted off for access. Make sure it is genuinely easy to re-seat, because one that is awkward gets left off after the first trip into the attic.
Which type of weatherstrip lasts?
Foam tape compresses easily, which makes it forgiving on a light panel, but it tends to give up after a couple of winters. Denser closed-cell or bulb-type strip lasts considerably longer and needs latches to compress properly. Whichever you use, the surface must be clean and dry when the adhesive goes on.
Should I do anything else while I am up there?
Look at what is in the attic before adding insulation anywhere near it. Old wiring, chimneys and recessed fixtures carry clearance requirements, and insulation cannot simply be packed around them. It is also worth confirming that the attic is meant to stay ventilated, because that assumption is what makes sealing the ceiling plane the correct move.
How much difference does it actually make?
It reliably removes a cold spot and reduces air leakage, and in older houses it often ends a draught that was being blamed on a window. It will not fix a house that leaks in many other places. Its value is that it is the largest inexpensive opening to close, which makes it a good first job rather than the whole plan.
NY Solar Incentives
Independent New York solar research. We summarise NYSERDA, NY-Sun and federal programme rules from published sources and state plainly when a figure is an estimate. We are not a government agency and do not sell equipment.
Run the arithmetic on your own system
Check the dated program table and your arrangement before counting an incentive. Standard residential NY-Sun blocks are closed; Long Island Affordable Solar has a conditional income-verification route. The NY credit depends on qualified costs and tax liability, while the NYC abatement reduces future property-tax bills. The estimator keeps those timings separate.